Basic Tool List for Minor Drywall Repairs
Need to repair damaged drywall in your home? Use our drywall tools list to get the job done right. It examines the six essential drywall tools you will need.
There’s more to drywall repair than just putting some joint compound on a wall and calling it a day. A drywall contractor has special tools that are used to get the compound smooth and perfectly blended with the wall. If you’re planning to do it yourself, these are the 6 essential drywall tools you will need. But consider the cost – if you purchase all these tools, will the return be worth the investment?
1. Hawks and mud pans
A hawk is a large square sheet of metal supported by a center handle. Mud pans resemble meatloaf pans and have crisp, sharp edges. These tools are used to carry the drywall compound with you while you work. Hawks are the tool of choice for professionals, so they tend to cost a little more. A mud pan will work nicely for occasional repairs.
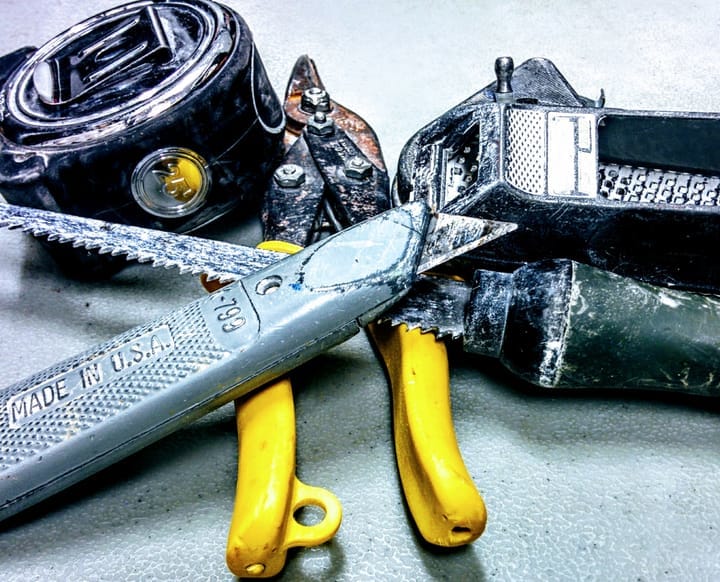
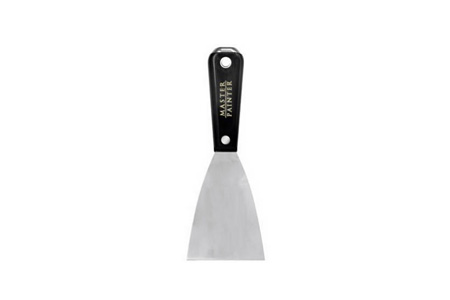
2. Knife
Plaster repair requires the right kinds of knives. Putty knives range in size from two inches across to more than a foot. The size you need depends on how large a repair you are doing. Nail holes are easily patched with a narrow knife, but larger work over seams or big holes will require a wider blade.
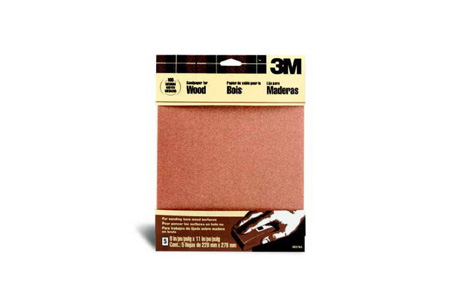
3. Sandpaper
You cannot do a proper patch job with sandpaper. A sanding block is OK, but actual paper with a special hard sanding pad is better. If you will be working on higher areas, invest in a sanding board that you can put an extension on.
4. Sanding sponge
Sanding drywall produces a ton of dust. Small jobs can be finished with a sanding sponge. Used along with a bucket of water, the sponge will eliminate concerns about drywall dust. They should be used with care, however, to avoid removing too much of the compound.
5. Corner tools
Inside corner tools are perfect for finishing off the difficult area in the corner of a room. It will speed up the process of finishing a stretch of drywall. However, it’s not typically required for repairs around the house.
6. Tape
Large repairs, like cracks or seams, should be fixed using tape. The tape will prevent the crack from reappearing and can easily be blended in with the wall. Holes can be covered using special sheets of self-adhesive mesh.
Basic tools for cutting drywall
Drywall can be cut with a T square and utility knifeDrywall is easily cut using simply a drywall utility knife. The basic concept involves scoring through the paper on one side of the sheet of drywall and then bending the board until it breaks the interior gypsum material. You can read a step by step guide to cutting drywall here. You will also want to use a drywall T square as a straight edge as well as a measuring tape. There are of course other tools that allow you to cut drywall but these are the basics.
Basic tools for hanging drywall
Drywall can be installed over wooden studs using either nails or screws as fasteners. When installing drywall on steel studs you must use screws. Therefore you need at least a drywall hammer or an electric drill to install drywall. You can use a cordless drill but you have to be careful not to puncture the drywall paper when setting the screws.
Basic tools for taping and finishing drywall
Taping and finishing drywall patches is done with drywall finishing knives. Good quality taping knives can be purchased for around $12 to $18 each, and a good quality drywall mud pan can be found for around $15 to $20. Some people debate whether stainless steel knives are better than blue steel knives. It basically comes down to the trademan’s preference. On the other hand, stainless steel mud pans are always the best choice.
How to Patch a Medium Hole (anything smaller than six inches)
For a professional finish follow the instructions under Large hole. This method requires finesse to feather the joint compound into the rest of the wall – if not done correctly, you will see a slight bulge in the wall. You must feather the repair area (gradually reduce the thickness outward) when applying the joint compound and in the sanding stage. Use a drywall patch that is slightly larger than the hole that needs to be repaired. You can purchase these at your local hardware store. Look for a kit, which will include everything you need.
Materials: For this job you’ll need a drywall patch and joint compound.
- Sand and clean the area around the hole where the patch will contact the wall.
- Apply the adhesive side of the patch to the wall.
- Cover the patch with a joint compound.
- Use a crisscross pattern with your putty knife to apply the compound.
- Apply enough compound to cover the patch and have enough to feather.
- Once dry, lightly sand and apply another coat.
- Sand the dry second coat with sandpaper.
- Feather the edges to blend the repair into the wall.
- Prime and paint.
Tips Proper Spackling Techniques
Before you start, here’s a brief lesson on spackle. Spackling paste or spackling compound is made of gypsum powder and binders and is used to patch small holes, cracks and other imperfections like dents in drywall, plaster walls, and sometimes in wood. It comes in powdered (mixed with water before application) or paste form, the paste form being the most commonly used and known. Actually, the word Spackle® itself is a registered trademark but it is commonly used to describe spackling compound. It is also sometimes used, erroneously, in reference to drywall joint compound, which is similar but an altogether different product. Joint compound is mostly used to cover joints between wallboard panels and to cover the fasteners and screws used to attach wallboard to studs underneath. It can be used like spackle, but it is better for repairing larger holes and damage that require backing or other reinforcement.
Step 1: Prepare the Spackling Spot,
Helpful Tips
- Fine-grit sandpaper is good for smoothing down the surface around a hole if there are not too many fragments or a protruding outer edge. Just give it a couple of quick brushes with the sandpaper to smooth it down.
- If you’re going to spackle over nails or screws that popped through your wall’s paint, use a nailset and hammer to push them in below the wall’s surface.
- If you’re working on holes of 2″ or greater in diameter, you may need to purchase or make a wall-repair patch and apply it before using joint compound to seal it in place. See Patch and Repaint Walls.
Step 2: Apply Spackling Compound
Helpful Tips
- Consider using two putty knives — one with a wide blade and one with a narrow blade. Dip the wide knife into the can of spackling compound and use it as a palette. The narrow knife can be used to apply the compound to the damaged area on the wall. You can also scrape excess compound from the narrow knife onto the edge of the wide knife for a cleaner, more controlled application.
- Always close the spackling compound lid after you’ve taken out what you need. It dries quickly and can be ruined if left exposed to the air.
Step 3: Paint
Safety Alert!
Open the windows to make sure you’ll be priming and painting in a well-ventilated area.
Using Latex Caulk to Fill Small Drywall Cracks
To fill small cracks you need something that is liquid enough to penetrate the crack but drys to a finish that can be painted. The easiest material is a 100% latex caulk and this type of caulk just so happens to be the least expensive too. You will need to use a small rubber spatula to force the caulk into the crack.
First apply a bead to the crack then using a crosshatch pattern work the caulk into the crack. You don’t want to run along the crack or straight against it or you will pull caulk out of the crack rather then force it in.
After the caulk has had about 5 minutes to setup use a damp not wet paper towel and remove any excess caulk from around the crack without actually going over the crack its self.
Painted surfaces especially ones that have paint applied by a roller have a texture so it is important to remove the extra caulk the best you can so the texture will remain.